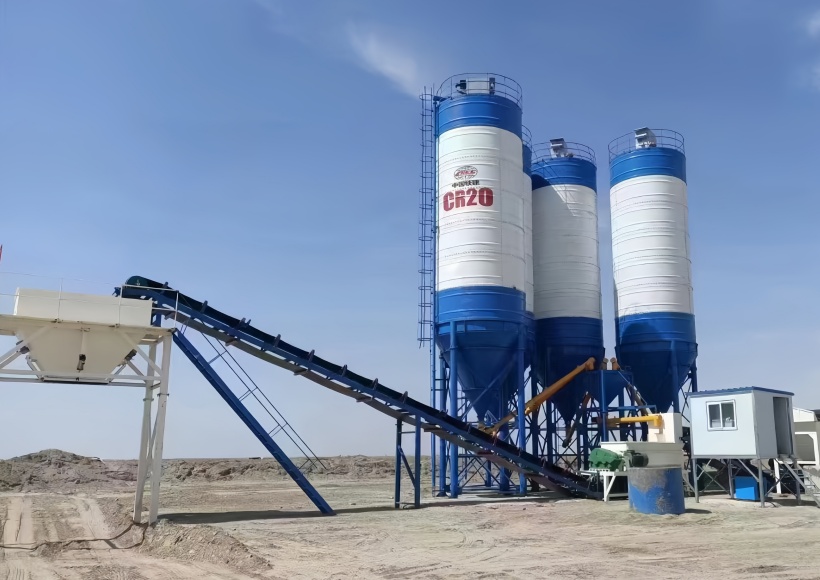
Forget the polished, textbook manuals. If you’ve spent any time in the dirt setting up a concrete batching plant, you know a bolted cement silo isn’t just a big metal bucket. It’s a massive structural beast. Get the installation right, and your various storage needs are locked down for decades. Mess up the assembly, and you’re staring at massive material loss, moisture ruining your fly ash, or worse, a fatal on-site accident.
I’ve spent 15 years erecting these giants globally. Today, we are walking through the actual right way to install a cement silo. Whether you are dealing with a standard grain silo for agriculture or a massive steel silo for heavy construction, the foundation and modular assembly rules simply do not change. I’ve seen guys try to cut corners to save a few bucks on labor costs. It never works. My crew and I always use high-precision equipment and follow a strict sequence. For example, the prefabricate precision from a top-tier factory like Tongxin Machinery (check their exact specs here: https://txmixing.com/cement-silo.html) drastically helps reduce labor costs and on-site errors. You want steel that actually lines up when you are 40 feet in the air.
The Reality of the Laydown Yard: Pre-Installation
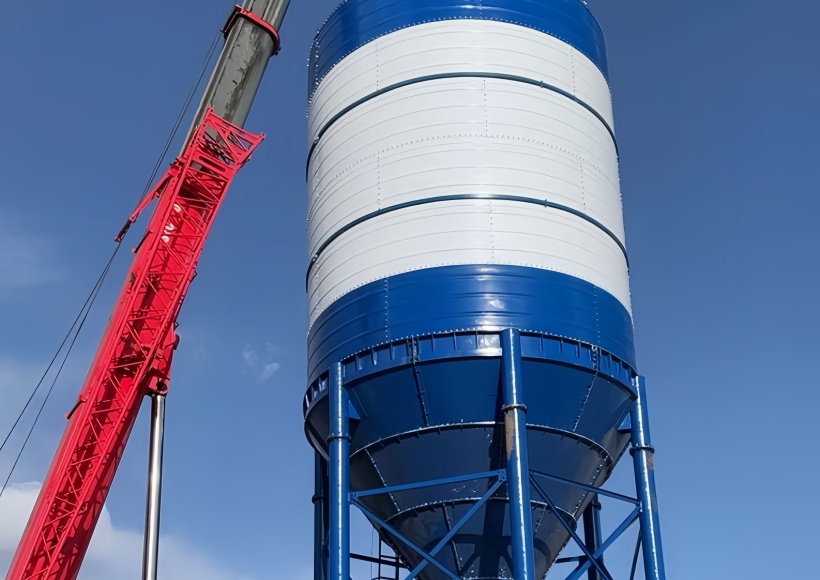
You don’t just show up on Tuesday morning and tell the crane operator to lift.
Before you even think about the silo installation, you have to organize your site. When the flatbed trucks arrive from the factory, they bring hundreds of loose parts. Every single sheet, bolt, nut, and rubber seal has a specific job. Sort them out efficiently on wooden pallets. Keep the hardware out of the mud. If you lose a specific stainless steel bolt or a high-tensile nut in the dirt, your entire assembly stops dead.
Get your gear ready. You need a heavy-duty crane rated for at least double the weight of your heaviest lift. You need impact wrenches, specific torque tools, heavy scaffolding, a safety rope for every guy off the ground, drift pins to align stubborn holes, and buckets of structural sealant. Don’t rely on a generic manual—know your steel thickness and ensure every single component is staged, marked, and ready to go.
Foundation Reinforcement: Where Mistakes Become Disasters
Foundation reinforcement is your absolute first priority. Uneven soil or a rushed concrete pour will kill your silo’s stability before you even mount the first plate. I cannot tell you how many times I’ve walked onto a job site, looked at the concrete base, and told the site manager to rip it out and start over.
Check the trench. Check the rebar. The concrete needs proper curing time. Most importantly, the anchor bolts must align flawlessly with the base ring template. A 1.5 mm error at the base translates to inches of misalignment up at the roof. If the base isn’t perfectly level, the entire structure leans. You end up fighting the steel all the way up, trying to force the bolt holes to align. Measure the foundation three times. Securely set those anchor bolts and double-check your measurements against the factory blueprints.
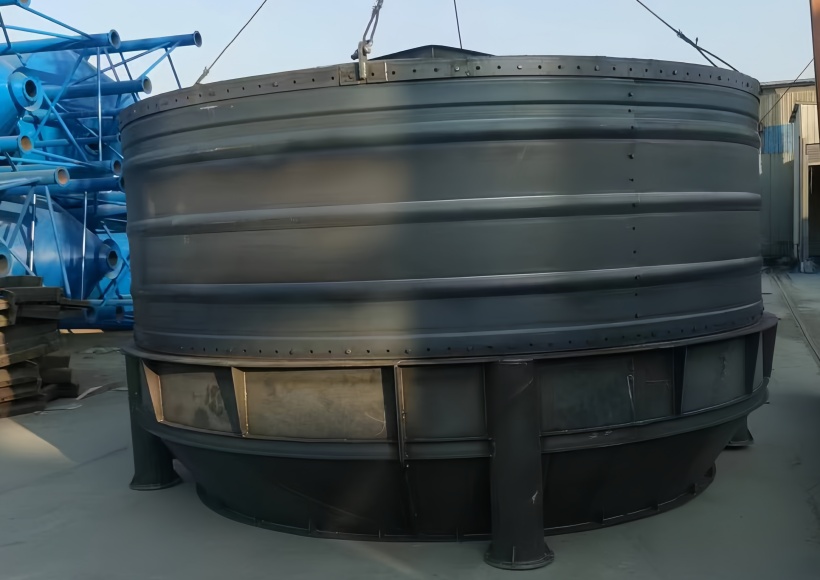
The Hopper Bottom Silo & First Ring Assembly
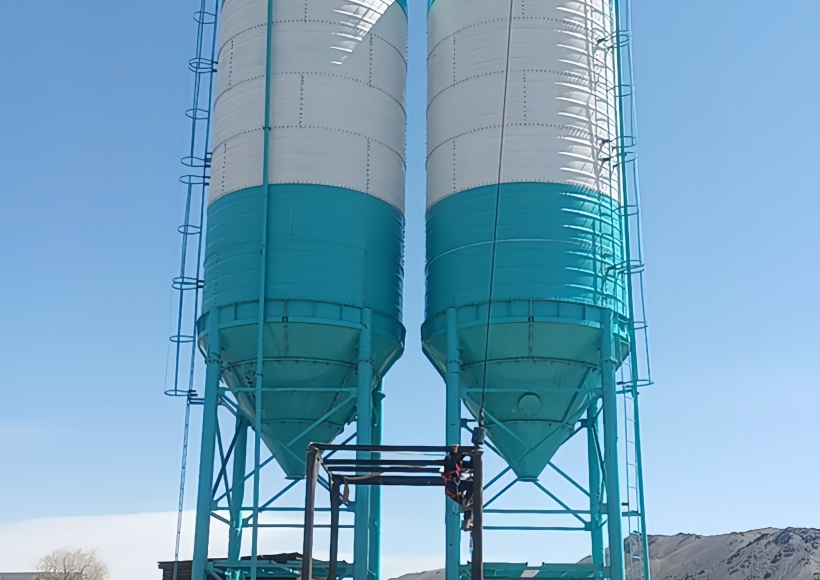
Always start by mounting the hopper bottom silo or the conical discharge section. This heavy steel funnel takes a massive amount of stress when the material flows out. Securely tighten the anchor bolts to the foundation, but here is an insider secret I teach all my new guys: don’t tighten the silo wall bolts to their maximum torque immediately.
Leave some flexibility in the steel. Insert the sheet panels one by one. Use drift pins to line up the holes if they are tight. Assemble the first silo ring carefully on the ground or directly on the support structure. Once the entire silo ring is formed and aligned perfectly with the heavy support beam, then—and only then—apply the uniform torque. This prevents structural warping. If you lock down one side of the ring before the other side is built, the steel binds up.
Building Up: Ring by Ring Modular Assembly
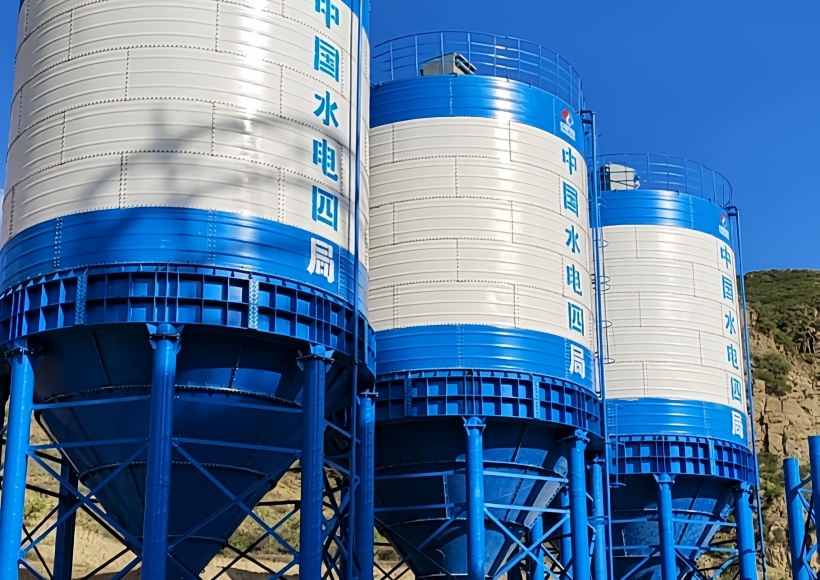
Bolted cement silos offer a massive advantage over older, traditional welded ones: you build them modularly. Try shipping a 100-ton fully welded silo down a highway. It is a logistical nightmare. Modular silos are flexible, cheaper to ship, and easier to install in tight spaces.
Depending on the site footprint, crews adopt different methods. Some crews adopt a hydraulic jack system. They build the roof first, attach the jacks, lift it up a few feet, build the next silo ring underneath it, and keep jacking it up layer by layer. This keeps most of the crew safely on the ground. Other crews build from the ground up, stacking rings with a massive crane.
Whichever method you choose, the absolute secret to a successful silo installation is in the seams.
The War Against Moisture: Sealant and Torque
Apply heavy-duty sealant on every single overlap. I cannot stress this enough. If you skip the sealant, or if you apply it too thin, moisture gets in. Cement clumps instantly. Grain rots. Rust starts eating the steel silo from the inside out. To prevent corrosion and leakage, use a thick bead of sealant between every single component layer before you drop the bolts in.
When you bolt the silo wall together, always ensure any pre-welded weld seam faces the correct orientation. Water needs to shed off the outside of the silo, not pool in a reverse lap joint.
Tighten the bolts in a uniform star pattern. Never tighten one side completely before starting the other. You need a calibrated torque wrench. Do not just let a guy go crazy with an air impact gun. Every bolt diameter requires a specific torque to ensure the right structural strength. Go too tight, and you stretch the bolt and ruin the thread. Go too loose, and the silo flexes under load. Ensure every steel sheet fits perfectly to maintain the exact diameter.
Roof, Accessories, and Environmental Dust Control
Once the main cylinder reaches its full height, the roof goes on. This is where you mount the critical accessories: the dust collector, safety valve, and level sensor.
Pro-Tip: Assemble the roof and its accessory parts on the ground. It is incredibly dangerous, slow, and inefficient to manually install a heavy dust suction filter, wire a sensor, or cut a hole for a vent 15 or 20 meters in the air. Build the whole roof assembly on the ground. Bolt the guardrails on. Secure the roof hatches. Then, lift the completely assembled roof as one single, massive unit with the crane and drop it onto the top ring.
Dust control is not optional anymore. Strict environmental regulation means a poorly installed dust system will get your batching plant shut down by the city faster than you can blink. Ensure the seal around the roof and the dust filter base is perfectly tight. You have to prevent dust from escaping into the air during the pneumatic filling process. When a tanker truck pumps fly ash or cement into that silo, the displaced air has to go somewhere. If your dust filter is clogged or poorly installed, the pressure builds up and blows the roof hatch right off. Always install a reliable pressure relief safety valve.
Final Checks, Commissioning, and Long-Term Maintenance
Once the crane disconnects and drives away, your job isn’t done. Walk around the silo. Are there any loose parts sitting on the ground? Check the discharge chute. Inspect every single joint where the support legs meet the main cylinder.
Maintenance is a long-term commitment. You don’t just build it and forget it. I make my site managers inspect the structural sealant every few months, especially after heavy rain or extreme temperature swings. Look for rust creeping up on the stainless steel parts or galvanized bolts. Look around the silo base for any signs of water pooling.
Consistent maintenance is the only way to extend the life of the equipment. A well-maintained cement silo from a reliable, heavy-duty factory like Tongxin Machinery will easily extend its operational life well beyond standard expectations, giving you decades of reliable storage. Keep it sealed, keep it bolted tight, and respect the structural limits of the steel.
Frequently Asked Questions (FAQ)
1. How do you prevent moisture leakage in a bolted cement silo?
I tell my guys: lay the structural sealant thick on every single steel sheet overlap before bolting. If you skimp on the sealant or mess up the torque, water gets in. That instantly turns your cement—or grain—into useless rock.
2. Can I use the exact same installation process for a grain silo?
Pretty much. Bolting a hopper bottom silo together feels identical whether you store grain or fly ash. The real difference hits when you wire up the accessories. Grain needs heavy-duty aeration and completely different temperature sensors compared to a standard concrete setup.
3. Why use a bolted cement silo instead of a welded one?
Try shipping a fully welded 100-ton monster across the country. It’s a logistical nightmare. Bolted modular assembly cuts your freight bill in half. Plus, if a forklift smashes into a bottom plate on-site, I just unbolt and swap it out. You can’t do that with a welded tank.
4. How tight should the bolts be on the silo wall?
Put the impact gun down and grab a calibrated torque wrench. You don’t guess this. Look at the factory spec for that specific bolt diameter and steel thickness. Torque them evenly in a star pattern. Go too tight, you strip the thread; too loose, the structure fails.
5. How often should we perform maintenance on the silo?
I make my site managers climb up and check the dust filter and safety valves every single month. Check your anchor base and seams for rust twice a year. Catching a loose bolt early saves your machinery. Ignore it, and you’re buying a new silo.